How to Build Your Own External Hard Drive
In today’s digital age, the need for storage space is ever-growing. Whether you’re a photographer with countless high-resolution images, a videographer with hours of footage, or simply someone who wants to keep their computer clutter-free, having extra storage is always a plus. One way to expand your storage capacity is by building your own external hard drive. Not only does this give you full control over the specifications and quality of the drive, but it can also be a fun and rewarding DIY project. Here’s how you can build your own external hard drive.
Choosing the Right Hard Drive Enclosure
The first step in building your own external hard drive is selecting the right hard drive enclosure. Enclosures come in various sizes and materials, so it’s important to choose one that fits both your hard drive and your aesthetic preferences. Make sure to check the compatibility of the enclosure with your hard drive, as not all enclosures are universal.
Preparing Your Hard Drive
Once you have your enclosure, it’s time to prepare your hard drive for installation. If you’re using a new hard drive, you’ll need to format it before placing it in the enclosure. This can usually be done through your computer’s operating system. If you’re using an old hard drive, make sure to back up any important data before formatting it, as the process will erase all existing data on the drive.
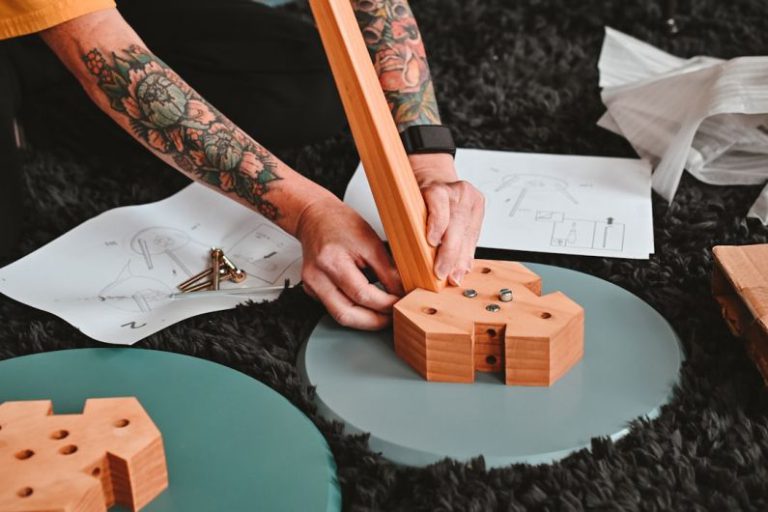
Assembling Your External Hard Drive
With your enclosure and formatted hard drive in hand, it’s time to assemble your external hard drive. Start by opening the enclosure and placing the hard drive inside according to the manufacturer’s instructions. Make sure the connections line up properly before securing the hard drive in place. Once the hard drive is secure, close the enclosure and fasten any screws or clips to hold it together.
Connecting Your External Hard Drive
After assembling your external hard drive, it’s time to connect it to your computer. Most external hard drives use a USB connection, so simply plug the USB cable into your computer’s USB port. Your computer should recognize the new drive and prompt you to format it if necessary. Follow the on-screen instructions to complete the setup process.
Customizing Your External Hard Drive
Building your own external hard drive gives you the opportunity to customize it to your liking. You can add stickers, decals, or even paint the enclosure to make it uniquely yours. Some enclosures also come with LED lights or other design features that you can take advantage of to personalize your drive.
Maintaining Your External Hard Drive
Once your external hard drive is up and running, it’s important to properly maintain it to ensure longevity and optimal performance. Make sure to safely eject the drive from your computer before unplugging it to prevent data corruption. Additionally, avoid dropping or mishandling the drive, as this can cause physical damage.
Backing Up Your Data
Finally, don’t forget to regularly back up your data on your external hard drive. While external hard drives are a reliable form of storage, they can still fail unexpectedly. By backing up your data regularly, you can protect your important files and prevent data loss in the event of a drive failure.
In conclusion, building your own external hard drive is a rewarding and practical DIY project that can provide you with additional storage space while allowing you to customize your setup to your liking. By following these simple steps, you can create a personalized external hard drive that meets your storage needs and reflects your unique style.