The Basics of Assembling a Desktop Computer
Building your own desktop computer can be a rewarding and cost-effective way to create a custom machine that perfectly suits your needs and preferences. While it may seem like a daunting task, assembling a desktop computer is actually quite straightforward when you break it down into manageable steps. Whether you’re a total beginner or have some experience with computers, this guide will walk you through the basics of assembling a desktop computer from start to finish.
Choosing the Right Components
Before you begin assembling your desktop computer, you’ll need to choose the right components for your build. The key components you’ll need include a motherboard, CPU, GPU, RAM, storage drive, power supply, and case. It’s important to ensure that all your components are compatible with each other to avoid any compatibility issues down the line. Do some research or seek advice from knowledgeable sources to make informed decisions about your component choices.
Preparing Your Workspace
Once you have all your components ready, it’s time to set up your workspace for assembling the computer. Find a clean, well-lit area with plenty of space to work comfortably. Make sure you have all the necessary tools on hand, such as a screwdriver, cable ties, and thermal paste. Clear any clutter from your workspace to avoid misplacing small components during the assembly process.
Installing the CPU and Cooler
First, install the CPU into the motherboard by gently lifting the CPU retention arm, aligning the CPU with the socket, and carefully lowering the retention arm back into place. Be sure to handle the CPU with care and avoid touching the pins. Next, install the CPU cooler according to the manufacturer’s instructions. Apply a small amount of thermal paste to the CPU before attaching the cooler to ensure proper heat transfer.
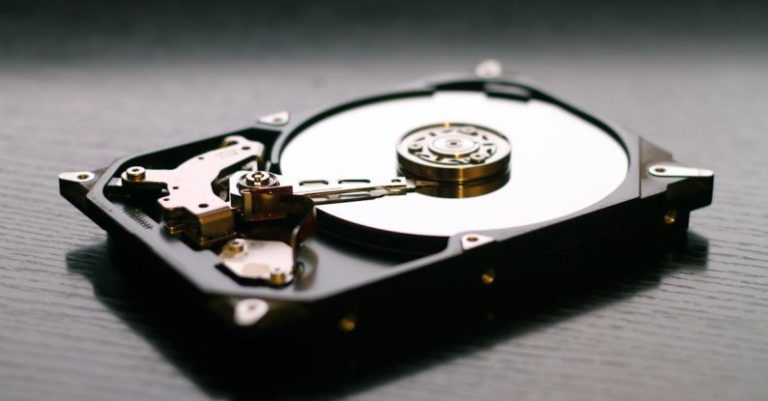
Installing RAM and Storage Drives
Insert the RAM modules into the corresponding slots on the motherboard, ensuring that the notches line up correctly. Apply firm and even pressure to both ends of the RAM module until it clicks into place. Next, install your storage drives (HDD or SSD) into the drive bays in the case. Connect the SATA data and power cables to the drives and the motherboard to enable data transfer and power supply to the drives.
Mounting the Motherboard in the Case
Carefully place the motherboard into the case, aligning the pre-installed standoffs with the mounting holes on the motherboard. Secure the motherboard in place by screwing it onto the standoffs using the screws provided with the case. Ensure that the motherboard is securely fastened to prevent any movement that could cause damage to the components.
Connecting Power Supply and Cables
Install the power supply unit (PSU) into the case, aligning it with the mounting holes and securing it with screws. Connect the main 24-pin power cable from the PSU to the motherboard to provide power to the system. Additionally, connect the CPU power cable, GPU power cables, and any other necessary power cables to their respective components to ensure proper power distribution throughout the system.
Testing and Booting Up
Before closing up the case, take a moment to double-check all your connections and ensure that everything is properly seated and secured. Once you’re confident that everything is in place, connect the monitor, keyboard, and mouse to the system and power it on. If all goes well, you should see the BIOS screen appear on your monitor, indicating that your computer is booting up successfully.
Troubleshooting and Final Touches
If your computer fails to boot or encounters any issues during the startup process, don’t panic. Check all your connections, reseat components if necessary, and consult troubleshooting guides or forums for assistance. Once your computer is up and running smoothly, tidy up your cables using cable ties to improve airflow and aesthetics inside the case. Congratulations, you’ve successfully assembled your own desktop computer!
In summary, assembling a desktop computer may seem like a complex task, but with the right components, tools, and guidance, it can be a rewarding and enjoyable experience. By following the steps outlined in this guide and taking your time to ensure each component is installed correctly, you can build a custom computer that meets your specific needs and preferences. Happy building!